Unlocking the Secret to No-Fail Chocolate Covered Strawberries: Shine & No Cracks Guaranteed
There's something undeniably enchanting about a perfectly crafted chocolate-covered strawberry. It’s a simple luxury, a bite-sized indulgence that combines the juicy freshness of fruit with the rich decadence of chocolate. Whether you're planning a romantic evening, preparing for a special gathering, or simply craving a sophisticated sweet treat, homemade chocolate-dipped strawberries are an elegant choice that never fails to impress. But how do you achieve that coveted glossy finish without any unsightly cracks, ensuring the chocolate clings beautifully to the berry with every bite? The good news is, it's easier than you think, and we're here to share the tried-and-true secrets to a truly no-fail chocolate covered strawberries recipe.
Forget the days of dull, cracking chocolate or berries that refuse to hold their coating. With a few key techniques and the right ingredients, you'll be creating smooth, shiny, and utterly irresistible chocolate strawberries every single time. Beyond their stunning appearance, these delightful treats are surprisingly quick to assemble, making them an ideal last-minute dessert that feels incredibly special.
The Allure of Homemade Chocolate Covered Strawberries
Why are chocolate covered strawberries such a perennial favorite? For one, they are the epitome of an "emergency 3-ingredient dessert" – requiring just fresh strawberries, your choice of chocolate, and one crucial, often overlooked ingredient we'll reveal shortly. They're quick, easy to make in any quantity, and bite-sized, ensuring everyone can enjoy a little indulgence without feeling overly full. Plus, for the health-conscious, they offer a relatively low-calorie option (around 47 calories per piece, depending on size and chocolate type), are naturally gluten-free, and require no plates or elaborate serving. It’s the perfect blend of sweet and fresh, a guilt-free pleasure that hits all the right notes.
Choosing Your Weapons: The Best Ingredients for Success
The foundation of any great dish lies in its ingredients, and chocolate-covered strawberries are no exception. Selecting the best strawberries and the right kind of chocolate will make a significant difference in both taste and texture.
Selecting the Perfect Strawberries
- Freshness is Key: Always start with the freshest strawberries you can find. Look for berries that are bright red, plump, firm, and free from bruises or mold.
- Size Matters: Medium-sized strawberries are generally best for dipping. They're easier to handle and provide a balanced ratio of chocolate to fruit.
- Thoroughly Dry: This is arguably the most critical step. Rinse your strawberries gently under cool running water to clean them. Then, pat them thoroughly dry with paper towels. The real trick is to let them air dry completely for at least 20 minutes, or even longer. Any moisture on the strawberry's surface will cause the chocolate to seize, clump, or simply not adhere properly, leading to a patchy, unappealing finish. You can even use a clean kitchen towel to gently blot them dry, ensuring every last drop of water is gone.
The Chocolate Conundrum: Quality Makes a Difference
For a truly exceptional chocolate covered strawberries recipe, the quality of your chocolate matters. While any chocolate can technically melt, not all chocolates are created equal when it comes to dipping and setting beautifully.
- Melting Wafers vs. Bars: Many recipes, including professional ones, recommend using high-quality chocolate melting wafers (like Ghirardelli or Guittard). These are specifically formulated to melt smoothly, evenly, and set with a lovely sheen, often without needing tempering. They are a fantastic "no-fail" option.
- Bittersweet for Balance: Combining milk chocolate melting wafers with chopped bittersweet chocolate (as suggested in our reference) offers a wonderful depth of flavor. The sweetness of milk chocolate is balanced by the rich, slightly bitter notes of dark chocolate, creating a more sophisticated profile. Aim for chocolate with at least 60% cacao for bittersweet, or even higher for a truly dark experience.
- Avoid Chocolate Chips: While convenient for baking, standard chocolate chips often contain stabilizers that prevent them from melting into a perfectly smooth, fluid consistency ideal for dipping.
- White Chocolate: If you prefer white chocolate, choose high-quality white chocolate bars or wafers designed for melting, as many white chocolate chips also have poor melting properties.
The Secret Ingredient: A Touch of Oil for Shine and No Cracks
This is the game-changer, the ultimate hack for making your chocolate-covered strawberries not just good, but absolutely perfect. Adding a tiny amount of neutral oil to your melted chocolate works wonders in two key ways:
- Prevents Cracking: Without oil, melted chocolate sets quite hard and brittle. When you bite into the firm chocolate shell on a soft strawberry, the differing textures often cause the chocolate to crack and flake off. A touch of oil softens the chocolate just enough to make it pliable, allowing it to yield gently when bitten, preventing those frustrating cracks and ensuring it stays perfectly adhered to the berry.
- Enhances Shine: While melted chocolate is inherently glossy, once it sets, it can often become a bit matte. The oil helps to maintain some of that beautiful, lustrous shine, giving your finished strawberries that professional, polished look.
What kind of oil? A neutral-flavored oil like refined coconut oil (which is solid at room temperature but melts easily), vegetable oil, or canola oil works best. You only need a teeny touch of oil – typically 1/2 to 1 teaspoon per cup of chocolate is sufficient. Start small, you can always add a little more.
Mastering the Melt: Techniques for Smooth, Shiny Chocolate
With your ingredients ready, the next step is melting the chocolate to a silky, dippable consistency. Patience and gentle heat are your allies here.
The Art of Melting Chocolate
- Microwave Method (Our Recommendation): This is the quickest and easiest method. Combine your milk chocolate melting wafers and chopped bittersweet chocolate in a medium, microwave-safe bowl. Microwave on medium power, stirring every 20-30 seconds. Chocolate retains its shape even when melted, so stirring is crucial to prevent burning and ensure even melting. It usually takes 1 to 1 1/2 minutes in total. Stop microwaving once the chocolate is mostly melted, and continue stirring vigorously until it's completely smooth and free of lumps. The residual heat will finish the job.
- Double Boiler (Bain-Marie) Method: If you prefer a more controlled melting process, a double boiler is excellent. Place your chocolate in a heatproof bowl set over a saucepan of simmering water (ensure the bottom of the bowl does not touch the water). Stir constantly until melted and smooth. This method offers gentler, more even heat distribution, reducing the risk of burning.
Once your chocolate is beautifully melted and smooth, stir in your chosen neutral oil. Start with half a teaspoon, stir well, and if it feels too thick or not quite glossy enough, add another tiny amount. Remember, you want a smooth, flowing consistency, not thin and watery.
The Art of the Dip: Achieving Flawless Coverage & Set
Now comes the fun part! Dipping your perfectly prepped strawberries into the luxurious melted chocolate.
The Dipping Dance
- Hold by the Stem: Grasp a strawberry by its green stem (calyx). This keeps your fingers clean and allows for easy dipping.
- Dip and Swirl: Dip the strawberry into the melted chocolate, swirling it gently to coat about two-thirds to three-quarters of the berry. Leave some of the red visible at the top, or if you prefer, you can completely submerge it.
- Tap Off Excess: Lift the strawberry from the chocolate and gently tap your wrist against the rim of the bowl. This allows any excess chocolate to drip off, ensuring a thin, even coating and preventing puddles at the base. A thinner coat sets more beautifully and crack-free.
- Place to Set: Carefully place each dipped strawberry onto a waxed paper-lined tray or baking sheet.
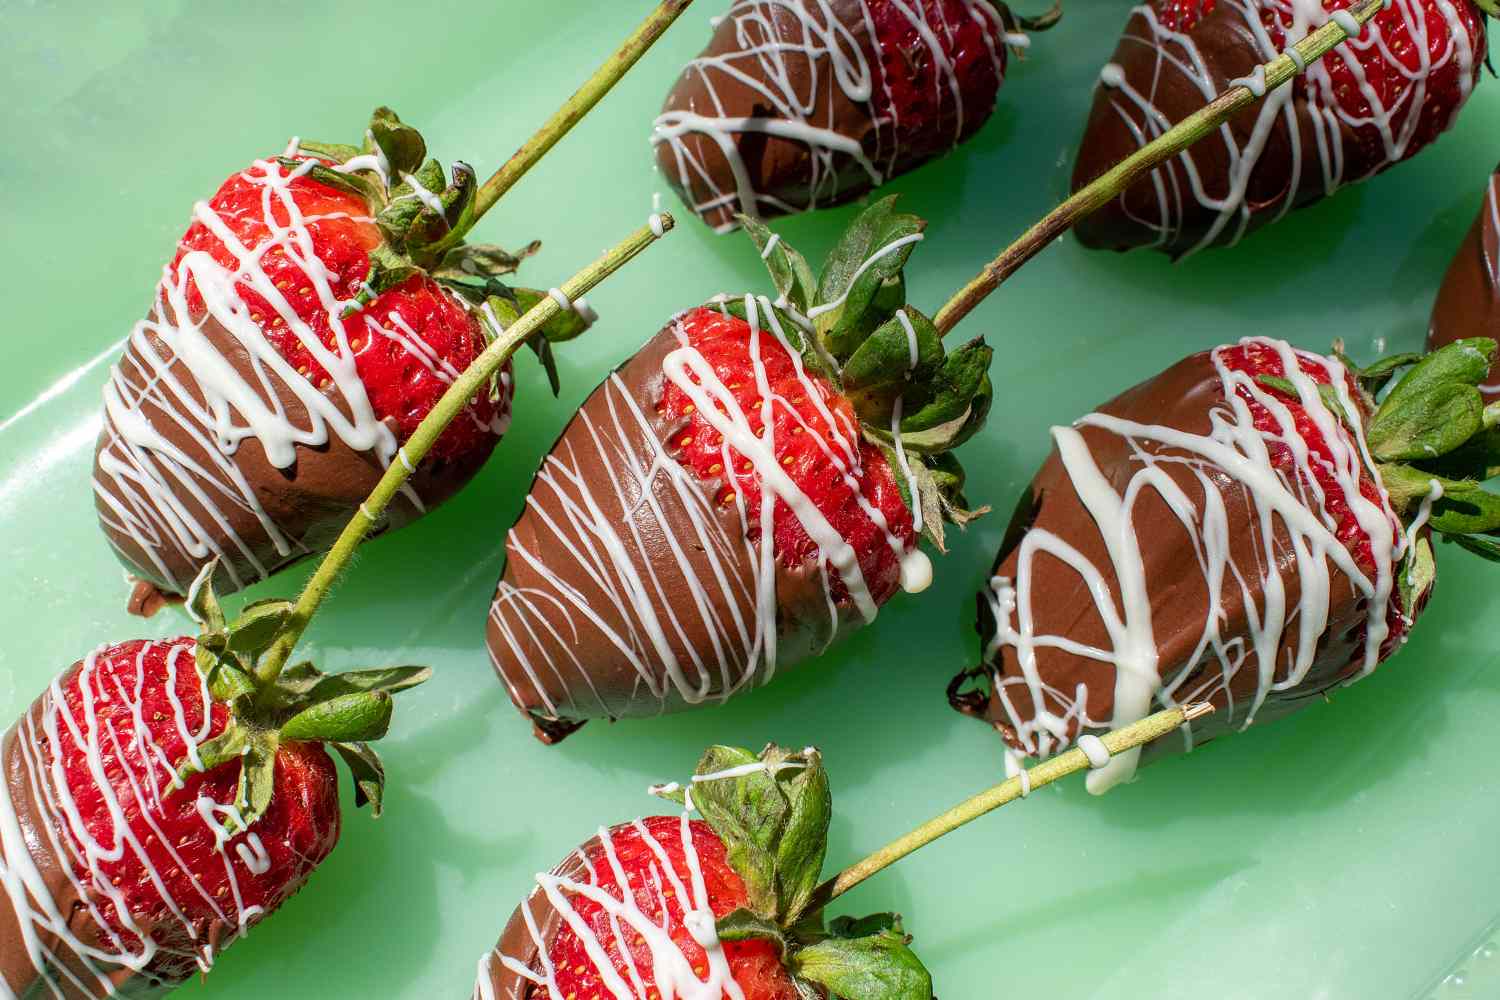
For an extra touch of elegance, consider drizzling contrasting chocolate (like white chocolate over dark) or sprinkling with finely chopped nuts, shredded coconut, or edible glitter before the chocolate sets. For more comprehensive tips on achieving that perfect smoothness and shine, check out our guide on Easy Chocolate Covered Strawberries: Perfect, Smooth & Shiny.
Setting for Perfection
Once all your strawberries are dipped, they need time to set. The goal is to let the chocolate firm up without developing condensation or a dull finish.
- Room Temperature Setting: The ideal method is to let them stand at room temperature for about 1 hour, or until the chocolate coating is firm to the touch. This allows the chocolate to set naturally and beautifully.
- Fridge for Speed (with Caution): If your kitchen is particularly warm or you're short on time, you can place the tray of dipped strawberries in the refrigerator for about 10-15 minutes to speed up the setting process. Be careful not to leave them in the fridge for too long, as the cold can cause condensation to form on the chocolate when removed, leading to a dull finish and potential stickiness.
Storage & Serving: Keeping Your Masterpiece Perfect
While chocolate covered strawberries are truly best enjoyed fresh, sometimes you need to make them ahead or have leftovers. Knowing how to store them properly is crucial.
Immediate Gratification vs. Planned Indulgence
We highly recommend serving and eating your chocolate-dipped strawberries as soon as the coating has firmly set. This is when the chocolate is at its prime, and the strawberries are at their juiciest.
The Golden Rule of Storage
If you must store them, place the dipped strawberries loosely covered with plastic wrap or parchment paper at room temperature for up to 24 hours. The key here is "loosely covered."
Do NOT place them in an airtight container! This is a common mistake. An airtight environment will trap moisture, causing the strawberries to "weep" (release their juices), making the chocolate sticky, dull, and potentially compromising the berry's freshness. The same goes for prolonged refrigeration; it can lead to condensation and the dreaded weeping effect. These delightful treats are a quick and low-calorie dessert perfect for any occasion, but they don't love long-term storage.
Presentation Prowess
Elevate your finished strawberries by arranging them artfully on a platter, perhaps on a bed of fresh mint leaves or alongside other small treats. They make fantastic gifts when placed in a decorative box with a tissue paper lining. Their inherent beauty makes them the centerpiece of any dessert table.
Conclusion
Creating glossy, crack-free chocolate covered strawberries is not an intimidating culinary feat, but rather a simple process elevated by a few insightful tips. From meticulously drying your fresh berries to incorporating that tiny touch of neutral oil for pliability and shine, each step contributes to a stunning and delicious result. This no-fail chocolate covered strawberries recipe ensures that every bite is a perfect harmony of juicy fruit and rich, smooth chocolate that stays put. So, gather your ingredients, follow these expert pointers, and prepare to impress yourself and your loved ones with these effortlessly elegant and utterly irresistible homemade delights.
